

Original photo
This is a picture I took at my little brothers soccer game. (he is the one in the red)
Step 1
Step 1
First, I cut out the two players I wanted to use. After I did that, I began tracing the image using the brush tool in Adobe Photoshop.


Step 2
After I traced the image, I removed the layer with the original photo in it. It looked a little off and so I added value with lines.
Step 3
When I was done with tracing and adding value, I thought it would be time to add color. I used the eyedropper tool to select the colors, then used the brush tool in a layer under my line layer and colored the inside.

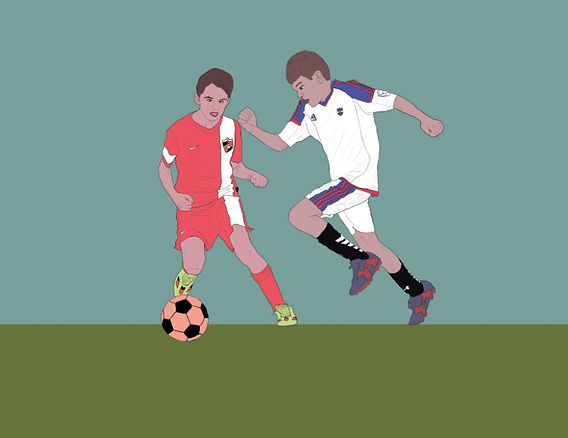
Step 4
I thought it was cool with the white background but then I decided to make it into a poster, so I needed a background. I didn't really know how to do a background, so I went simple with a blue sky and green grass.
Step 5
Adding text is always the hardest part of designing something to me. I never know where to place it or what font to use. so it took me a while to figure it out


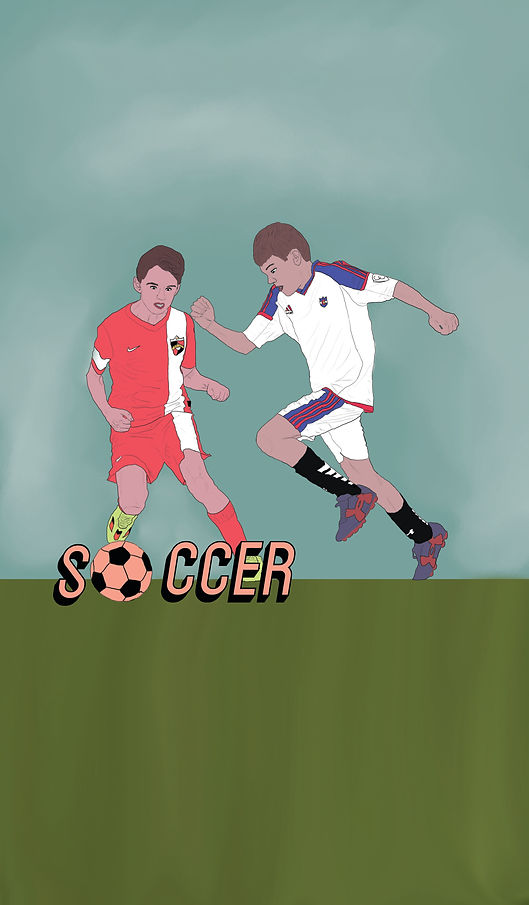
Step 6
Talking to my mentor, we decided posters are oriented the other way, so I flipped it. Also, we wanted to make the background more detailed and the type simple. This is my final product!